Correct VIM auto indent issue for YAML files
Add following lines in ~/.vimrc
filetype plugin indent on
autocmd FileType yaml setlocal ts=2 sts=2 sw=2 expandtabAdd following lines in ~/.vimrc
filetype plugin indent on
autocmd FileType yaml setlocal ts=2 sts=2 sw=2 expandtabTo install MongoDB in Proxmox VM, the CPU needs to have AVX support. Otherwise, following error appears
WARNING: MongoDB 5.0+ requires a CPU with AVX support, and your current system does not appear to have that!Change CPU type to host, which by pass the CPU simulation.
For container cluster, such as docker swarm, kubernetes, MongoDB might need to be run on specific worker node which have CPU type equals to host.
Once the CPU set to be host, the live migration may not work, because the hosts have different CPU type. But host will give maximum performance.
AVX2
KVM: Which CPU for VM ('host' vs 'kvm64') to use for web load?
This is required if host key replaced in target server.
ssh-keygen -R HOSTNAME
ssh-keygen -R IP_ADDRESSkubeadm token create --print-join-commandAfter cloned Ubuntu VM, some tasks are required.
/etc/hostname/etc/hostsrm /etc/ssh/ssh_host_*
dpkg-reconfigure openssh-serverAfter run init, following error was occurred.
dial tcp 127.0.0.1:10248: connect: connection refused.Run following command to reinit kubernetes master or worker
sudo mkdir /etc/docker
cat <<EOF | sudo tee /etc/docker/daemon.json
{
  "exec-opts": ["native.cgroupdriver=systemd"],
  "log-driver": "json-file",
  "log-opts": {
    "max-size": "100m"
  },
  "storage-driver": "overlay2"
}
EOF
sudo systemctl enable docker
sudo systemctl daemon-reload
sudo systemctl restart docker
sudo kubeadm resetsudo kubeadm initJoin cluster
kubeadm join ...Label it as worker
kubectl label node kworker1 node-role.kubernetes.io/worker=workerFollowing messages are printed to create pod network.
You should now deploy a pod network to the cluster.
Run "kubectl apply -f [podnetwork].yaml" with one of the options listed at:
  https://kubernetes.io/docs/concepts/cluster-administration/addons/
Install Weave Net for NetworkPolicy.
kubectl apply -f "https://cloud.weave.works/k8s/net?k8s-version=$(kubectl version | base64 | tr -d '\n')"Kubernetes kubeadm init fails due to dial tcp 127.0.0.1:10248: connect: connection refused
kubernetes cluster master node not ready
Weave Net for NetworkPolicy
Faster than before again.

There are many reasons that some dangling disk images files exists in Proxmox folder. To remove them from the Proxmox storage, might not be possible, and they might be not shown in VM hardware items as well.
This is to fix the following issues
qm rescanIf rescan can not fix the issue, rename the old disk or disk folder, then restart VM to confirm the disk file is not necessary. Then remove disk.
Run following command to convert vmdk to qcow2
qm importdisk <VM_ID> <Virtual Disk>.vmdk <storage> --format qcow2Here, VM_ID is a number. After completed a newly created disk appears in VM
Double click the newly created disk, then select VirtIO Block device.
Select Write Back as cache method
Double click the newly created disk, then select SATA device.
Select Write Back as cache method
apt remove --auto-remove open-vm-tools
apt remove --auto-remove xserver-xorg-video-vmware
apt purge open-vm-tools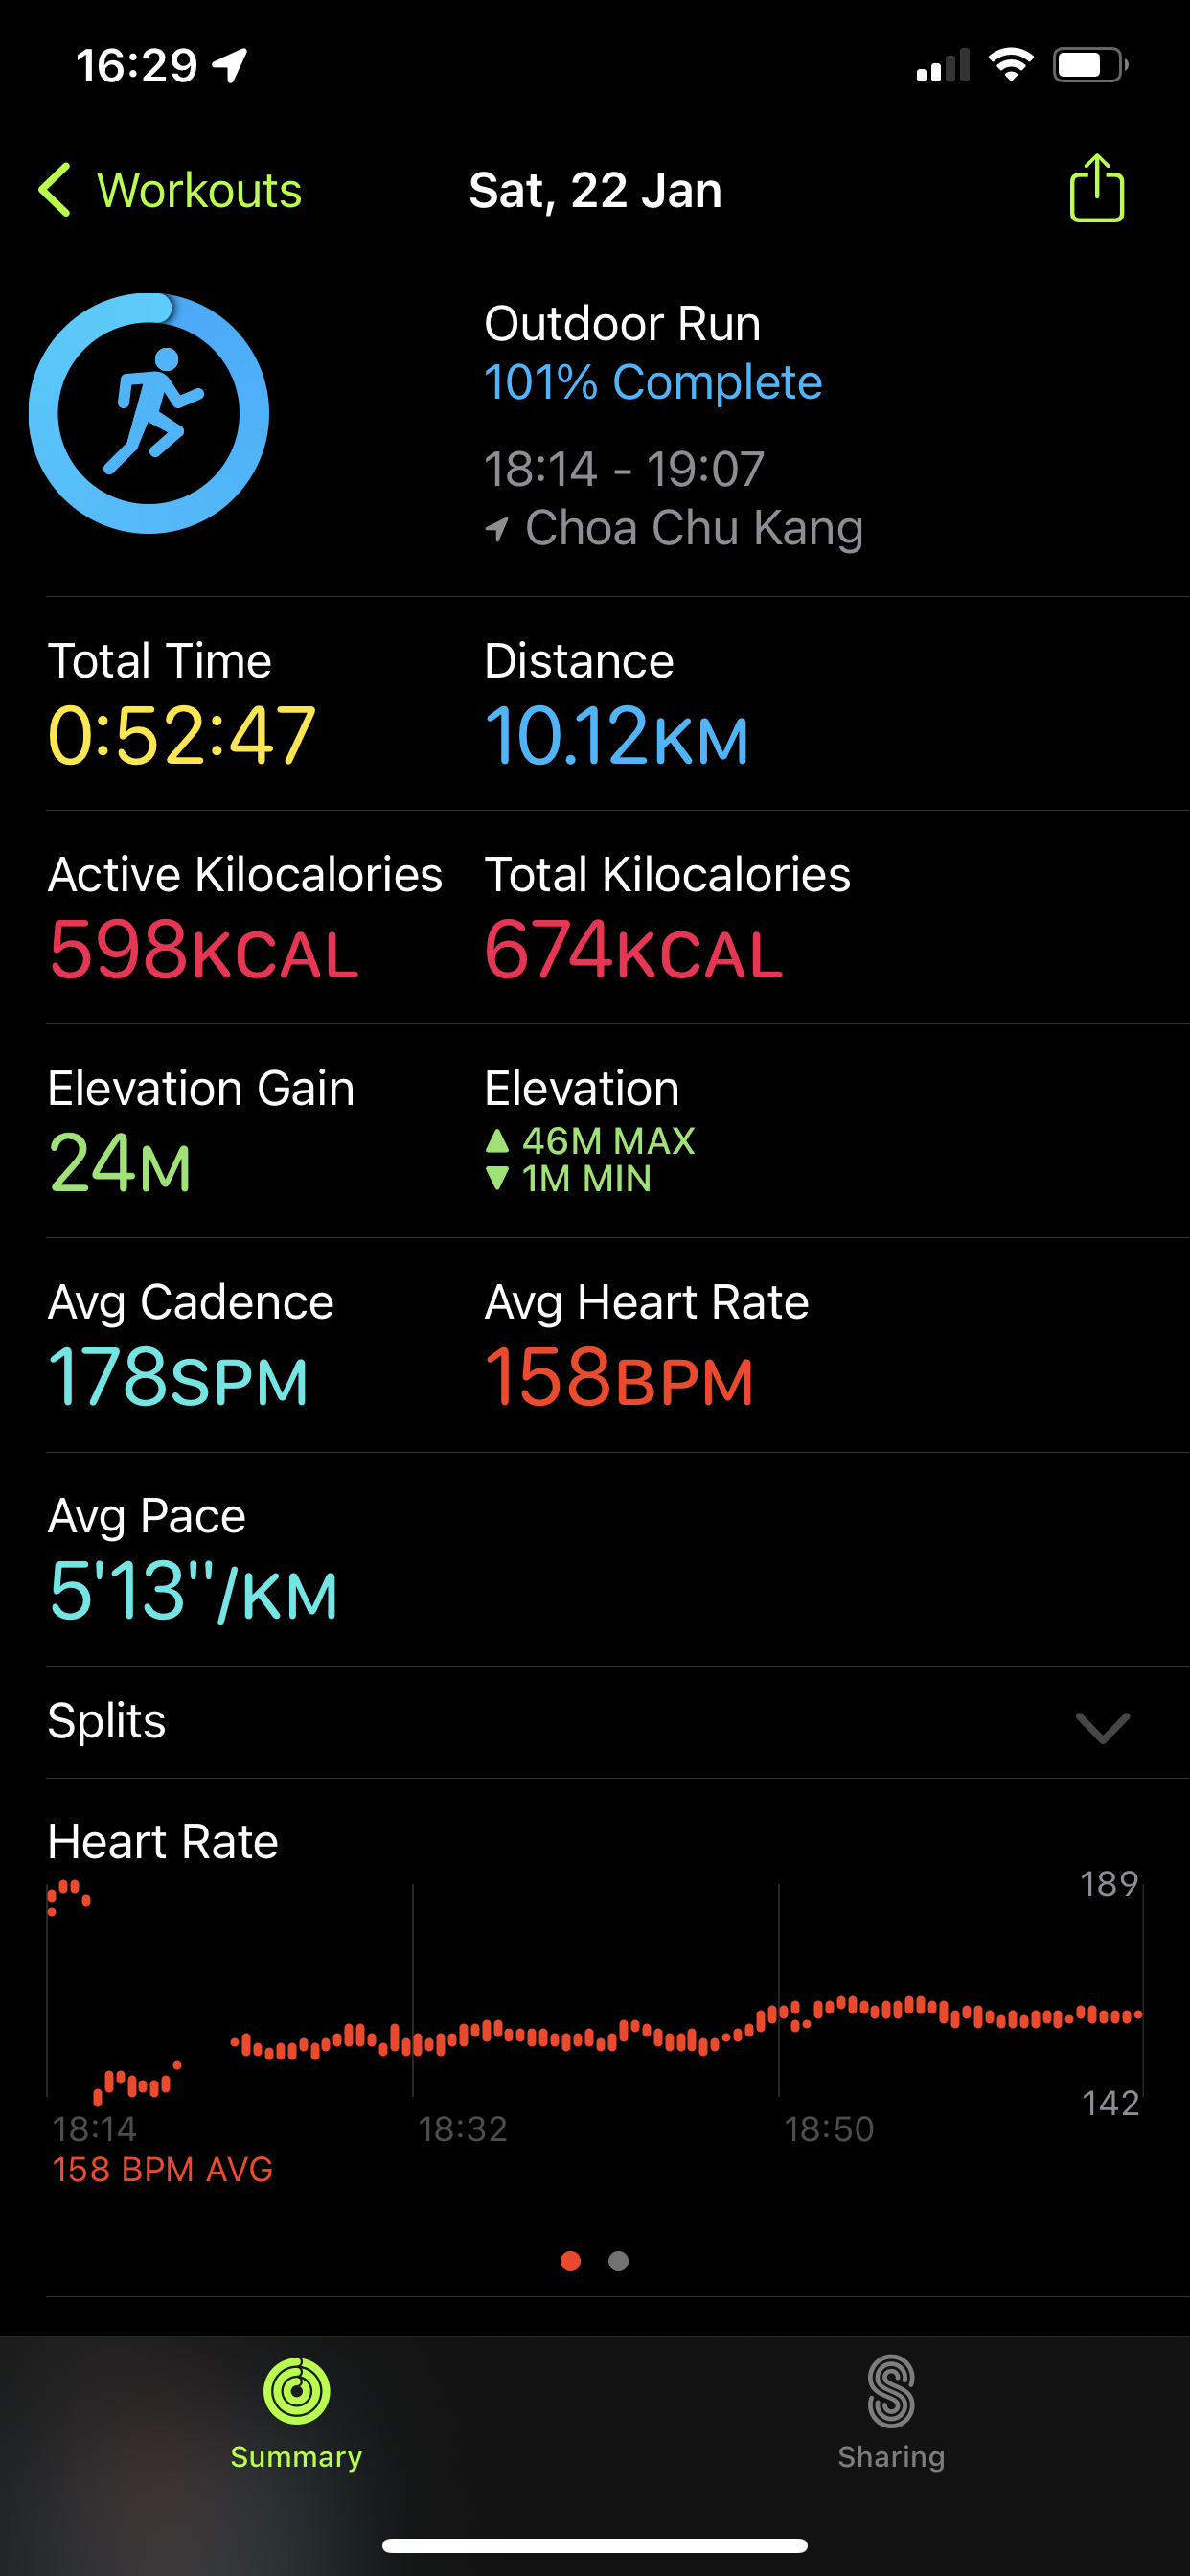
apt purge open-vm-tools-desktopyum remove open-vm-tools open-vm-tools-desktopUsing the relatively new cheap shoes, not bad, but feel using different muscles, quite tired.