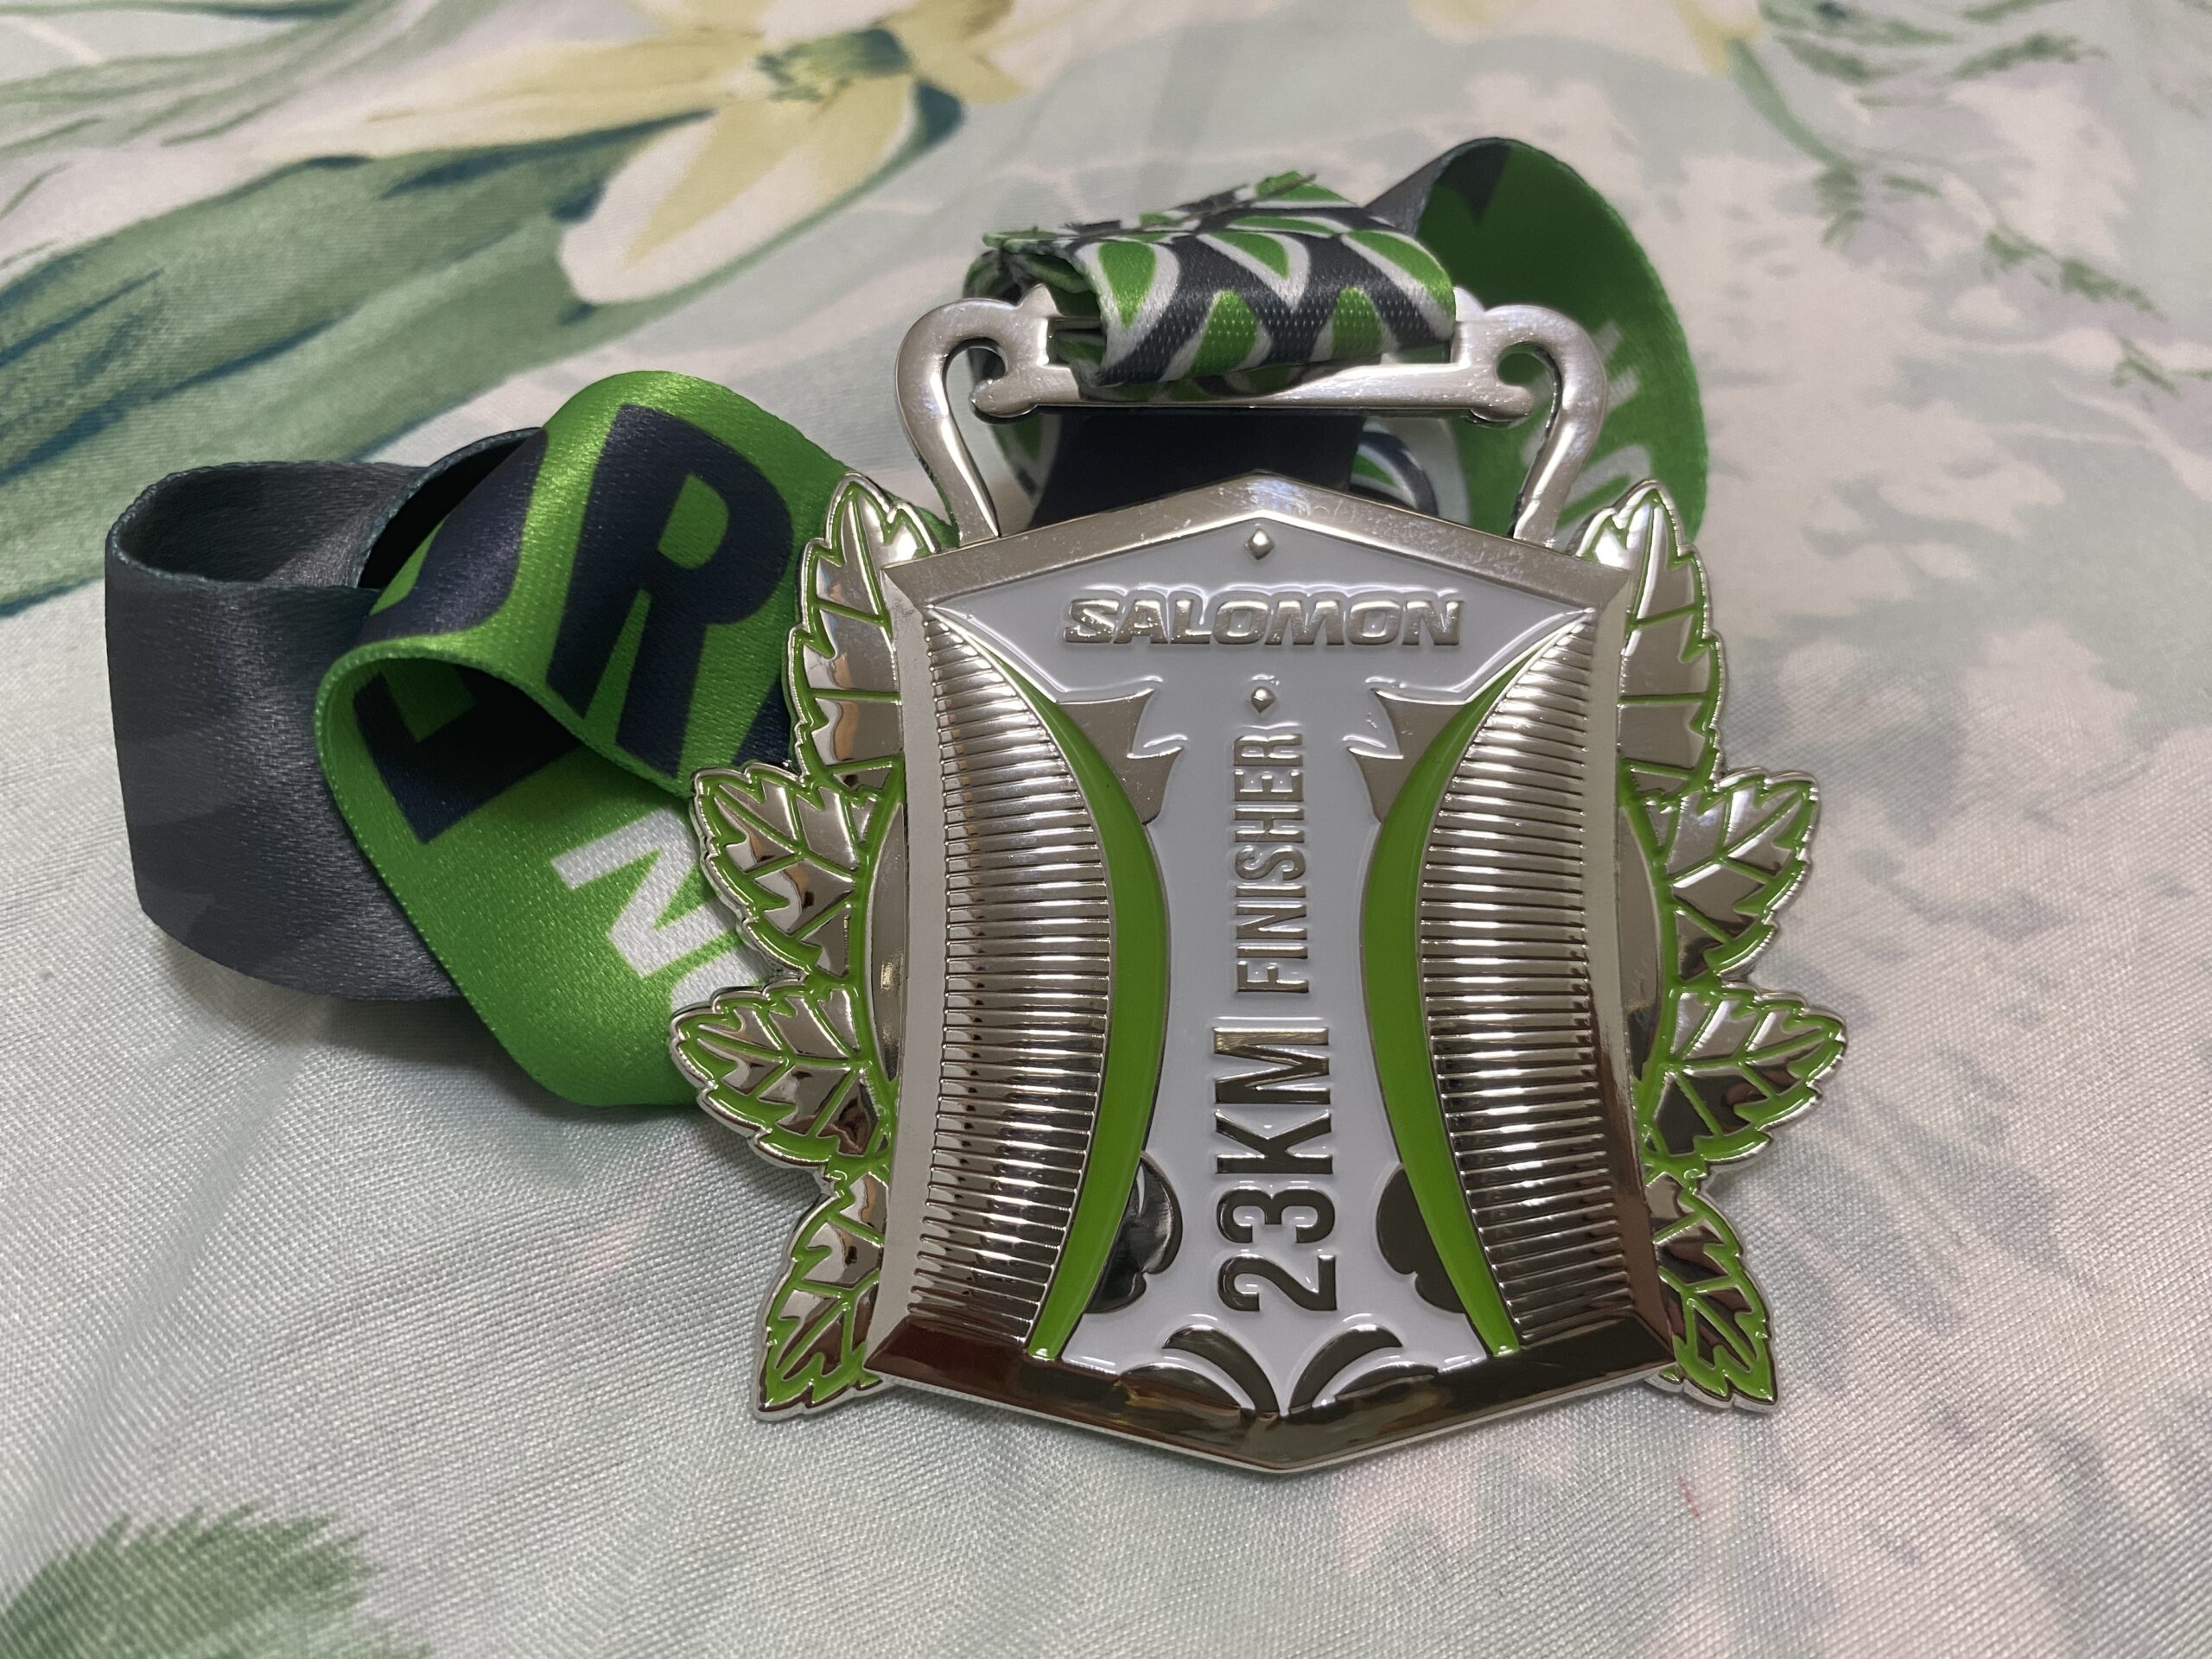
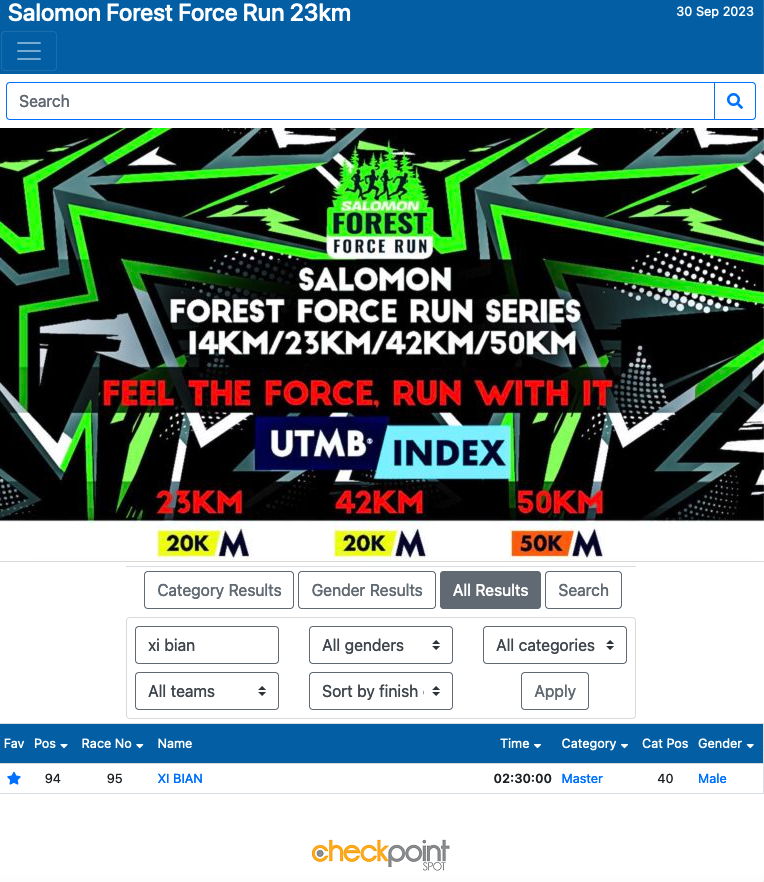
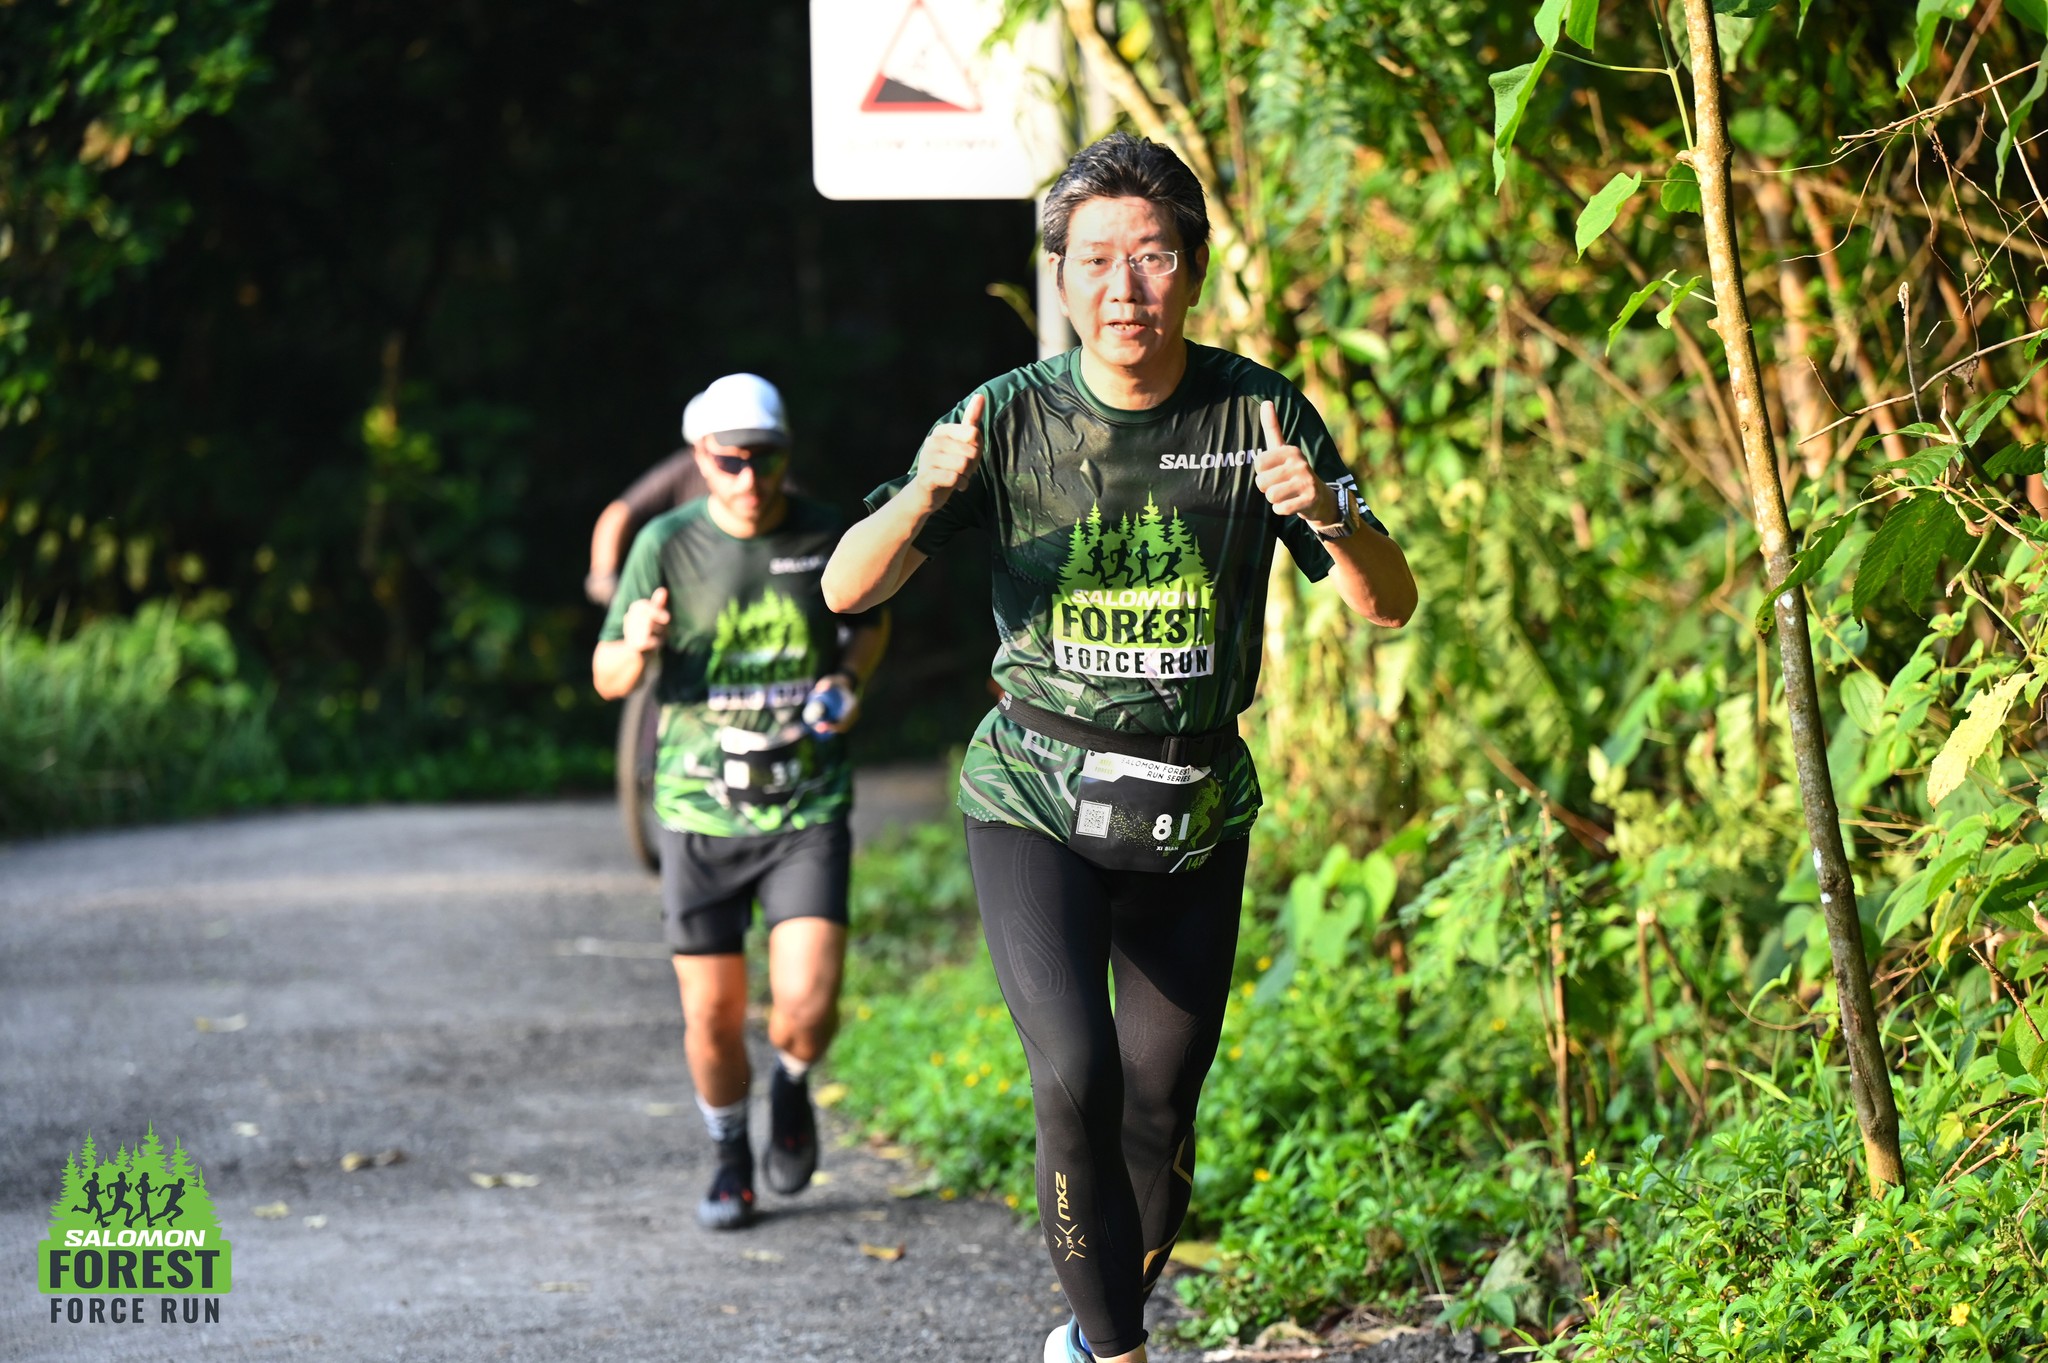
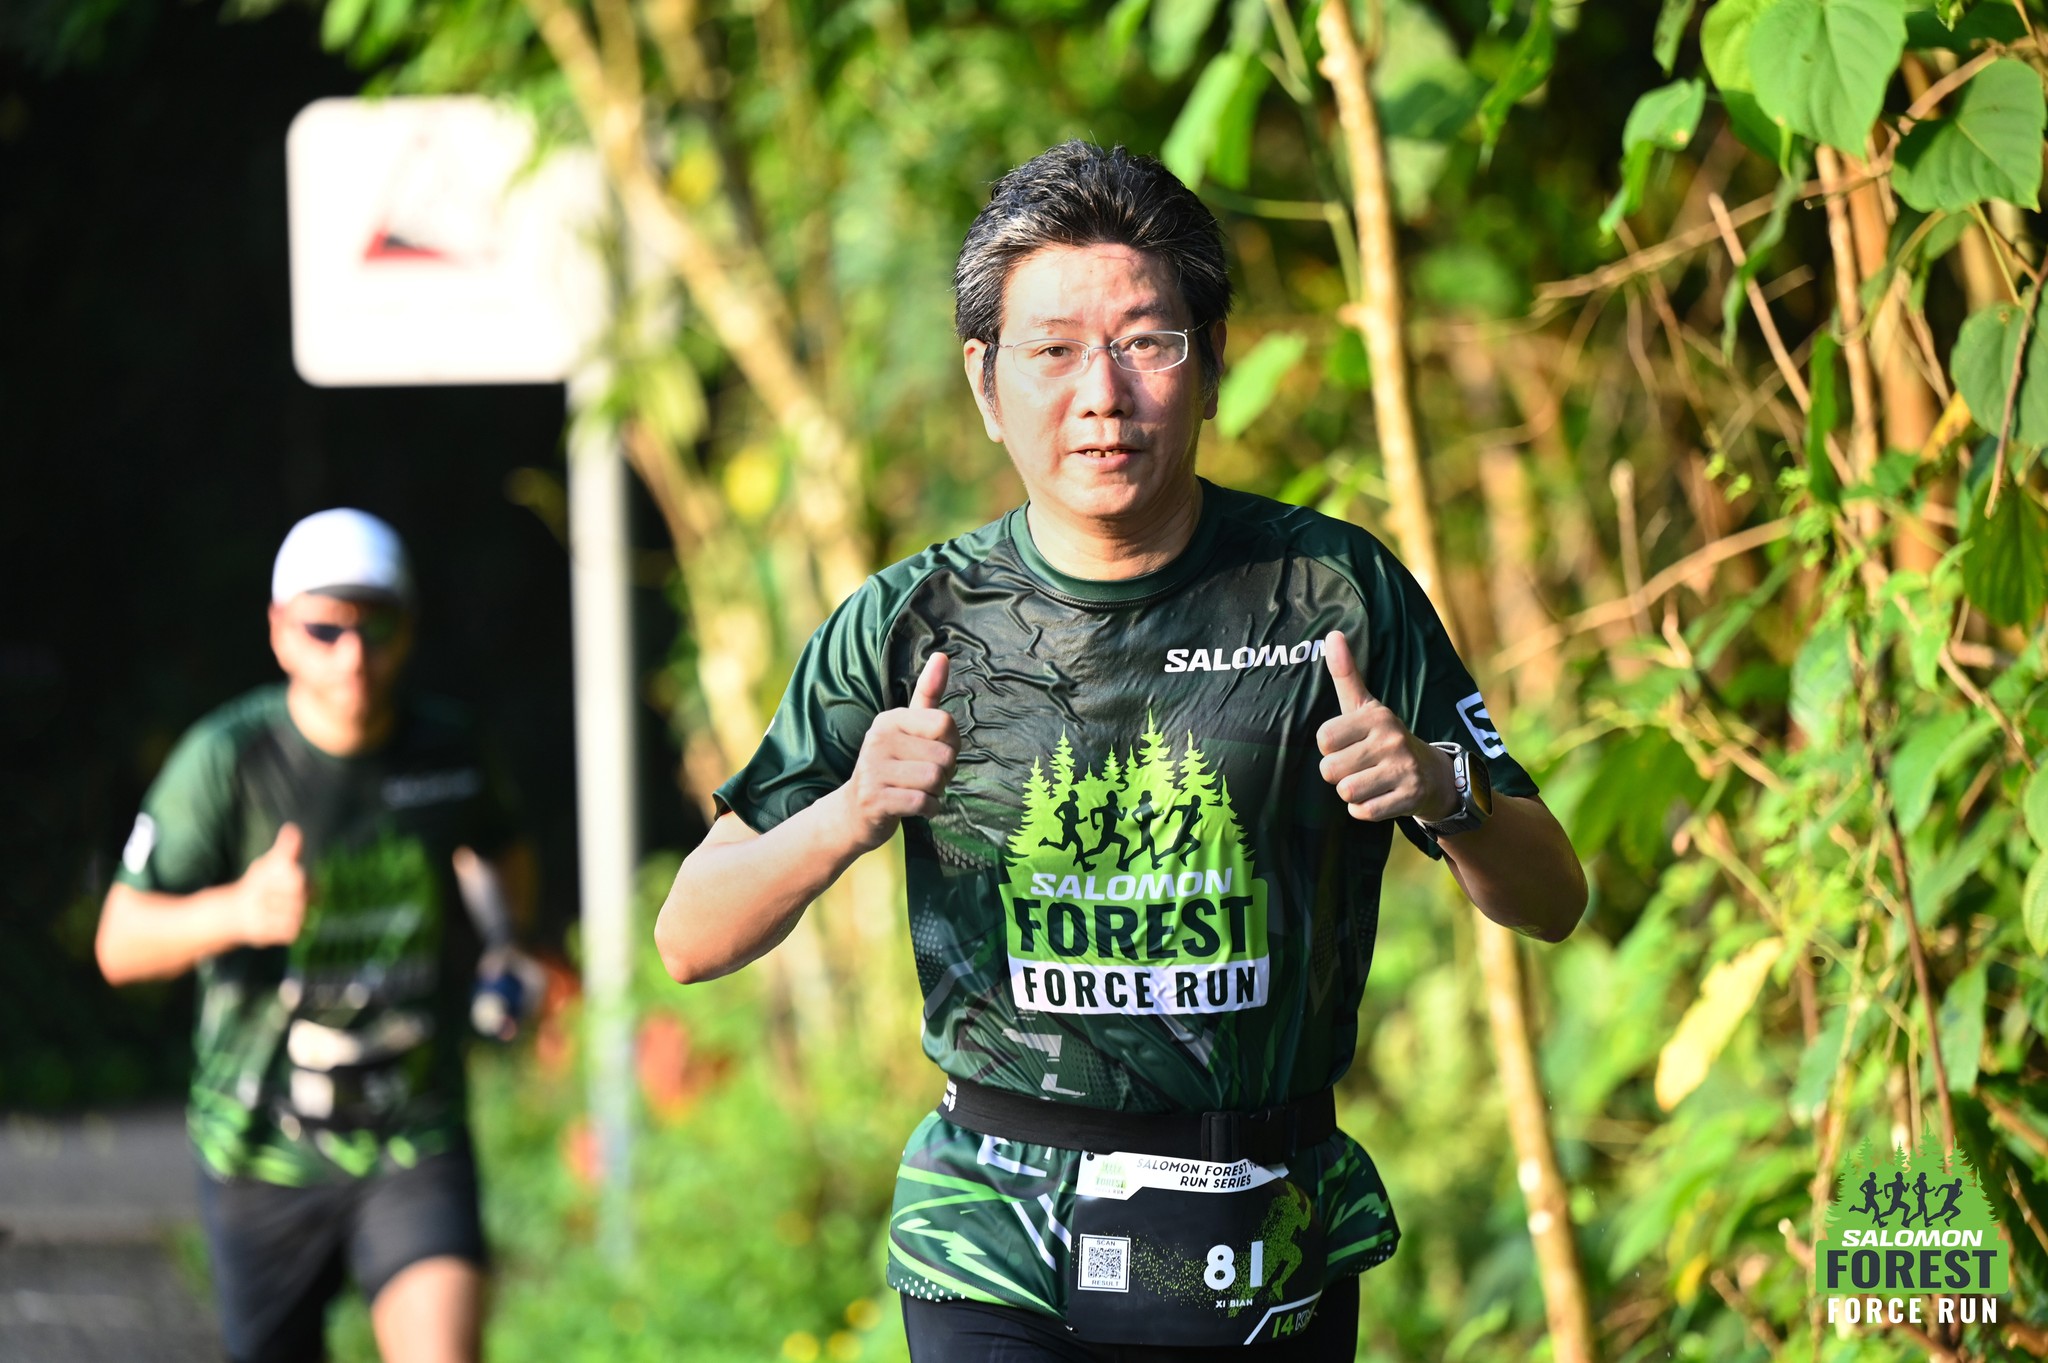
Salomon Forest Force Run 2023 - 23KM
Even started at 6:45am on 30 Sep 2023, and could not speed up due to wind direction, especially in east coast park.
Medals
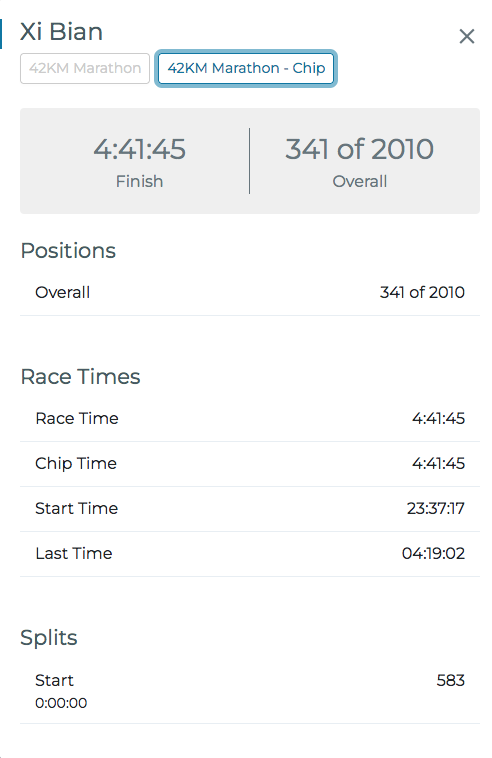
Result
https://results.checkpointspot.asia/17036/SFFR23KM
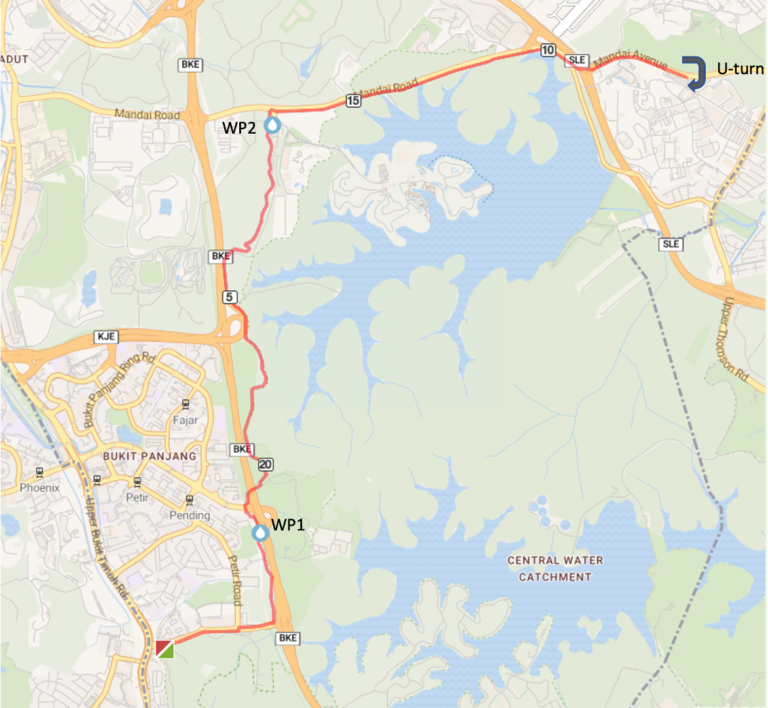
Map
Photos

Even started at 6:45am on 30 Sep 2023, and could not speed up due to wind direction, especially in east coast park.
https://results.checkpointspot.asia/17036/SFFR23KM
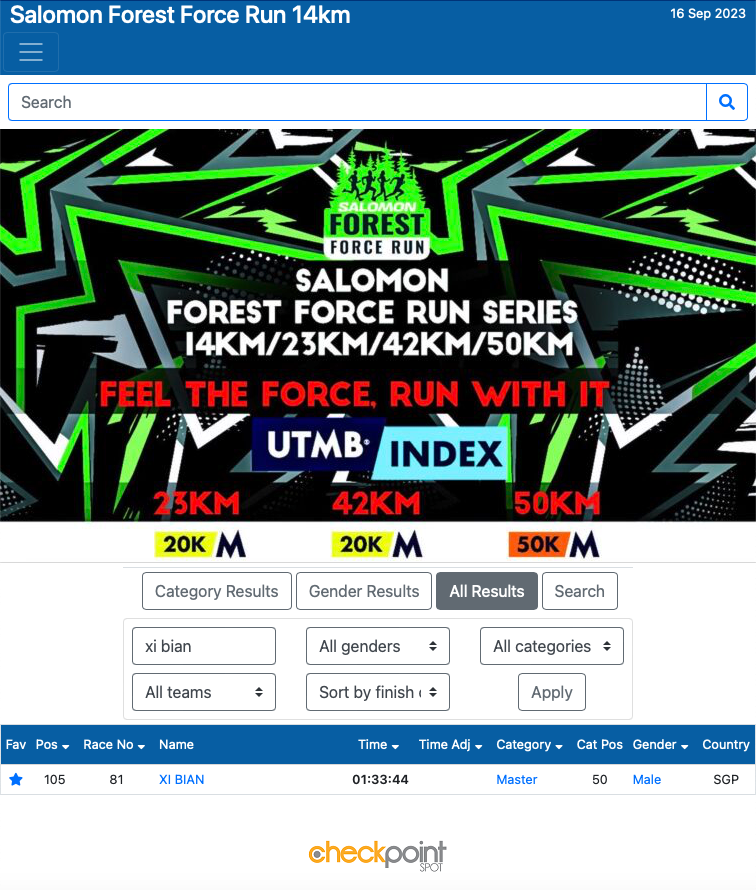
Even started at 6:45am on 16 Sep 2023, and twisted my right ankle more than 5 times due to stones on the road.

https://results.checkpointspot.asia/Results.aspx?CId=17036&RId=3664
To trust Synology self generated CA in Linux OS, following steps can be used.
Control Panel => SecurityCertificate tabAdd buttonsynologyExplore certificate, then NextThere will be 4 files in the downloaded ZIP file
cert.pem
privkey.pem
syno-ca-cert.pem
syno-ca-privkey.pem
Copy file syno-ca-cert.pem to server folder and rename it to .crt
cp syno-ca-cert.pem /usr/local/share/ca-certificates/syno-ca-cert.crt
update-ca-certificates
Note: the certificate file name must be .crt
For any services used certificate generated by Synology CA certificate, restart the service
systemctl restart <service>openssl commandRun following commands
openssl s_client -connect server_address:443 -CAfile /usr/local/share/ca-certificates/syno-ca-cert.crt
openssl s_client -connect server_address:443 -CApath /etc/ssl/certs
Should return 0 (ok)
Verify return code: 0 (ok)curl commandcurl --verbose <URL> --cacert /usr/local/share/ca-certificates/syno-ca-cert.crt
curl --verbose <URL>After reboot of PVE, network interfaces detected, but no link activated, ip address command shows all physical interfaces are down, and interfaces LED lights are shut off when loading OS.
Getting permission denied error when run ifup command, when using python3 /usr/sbin/ifup -a command, getting error as another instance of this application is already running
After using strace python3 /usr/sbin/ifup -a command, found that the command tried to access folder /run/network, but it doesn't exist.
Create folder /run/network after rebooted, then run command python3 /usr/sbin/ifup -a to bring up network manually.
Note: This is only a temporary solution, because the folder /run/network will disappear. Will troubleshoot again when got time.
Control Panel => SecurityCertificate tabAdd buttonRenew certificate, then NextCreate certificate signed request (CSR), then NextDownloadFollowing files are created in downloaded ZIP file
server.csrserver.keyFollowing the steps in the page below to create and import the certificates
Use Synology DSM to create Self Signed Certificate with custom CA
Use Synology DSM to create Self Signed Certificate with custom CA
To copy one LV to another VG using LV mirror method. This method can not be performed on-line because of vgsplit command.
Note: RHEL doesn't have cplv command.
vgcreate vg01 /dev/vdb
lvcreate -L 1G -n test1 vg01
vgextend vg01 /dev/vdc
lvconvert --type raid1 --mirrors 1 /dev/vg01/test1 /dev/vdc
lvdisplay -m vg01/test1
lvconvert --splitmirrors 1 --name test2 /dev/vg01/test1
lvdisplay -m vg01/test1
lvdisplay -m vg01/test2
vgchange -a n vg01
vgsplit -t -v /dev/vg01 /dev/vg02 /dev/vdc
vgsplit -v /dev/vg01 /dev/vg02 /dev/vdc
lvs
vgchange -a y vg01
vgchange -a y vg02How to move / copy logical volume (lv) to another volume group (vg)?
To resize btrfs filesystem, run following command
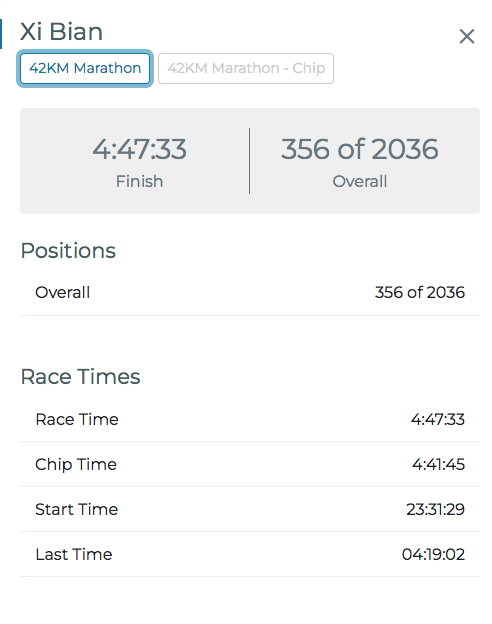
btrfs filesystem resize max /appEvent stated at 11:30 PM on 20 May 2023 for 42KM. During running, I got stomachache , could not even have deep breath, only can walk after 25km. Maybe because this is the first time I tried energy gels. Although got vomiting a bit, felt a bit better, still felt pain. Or maybe because ran too fast in first 21km (1:56), wanted to check my half marathon speed. Or maybe because inhaled water a few times, caused severe coughing. Still unclear.
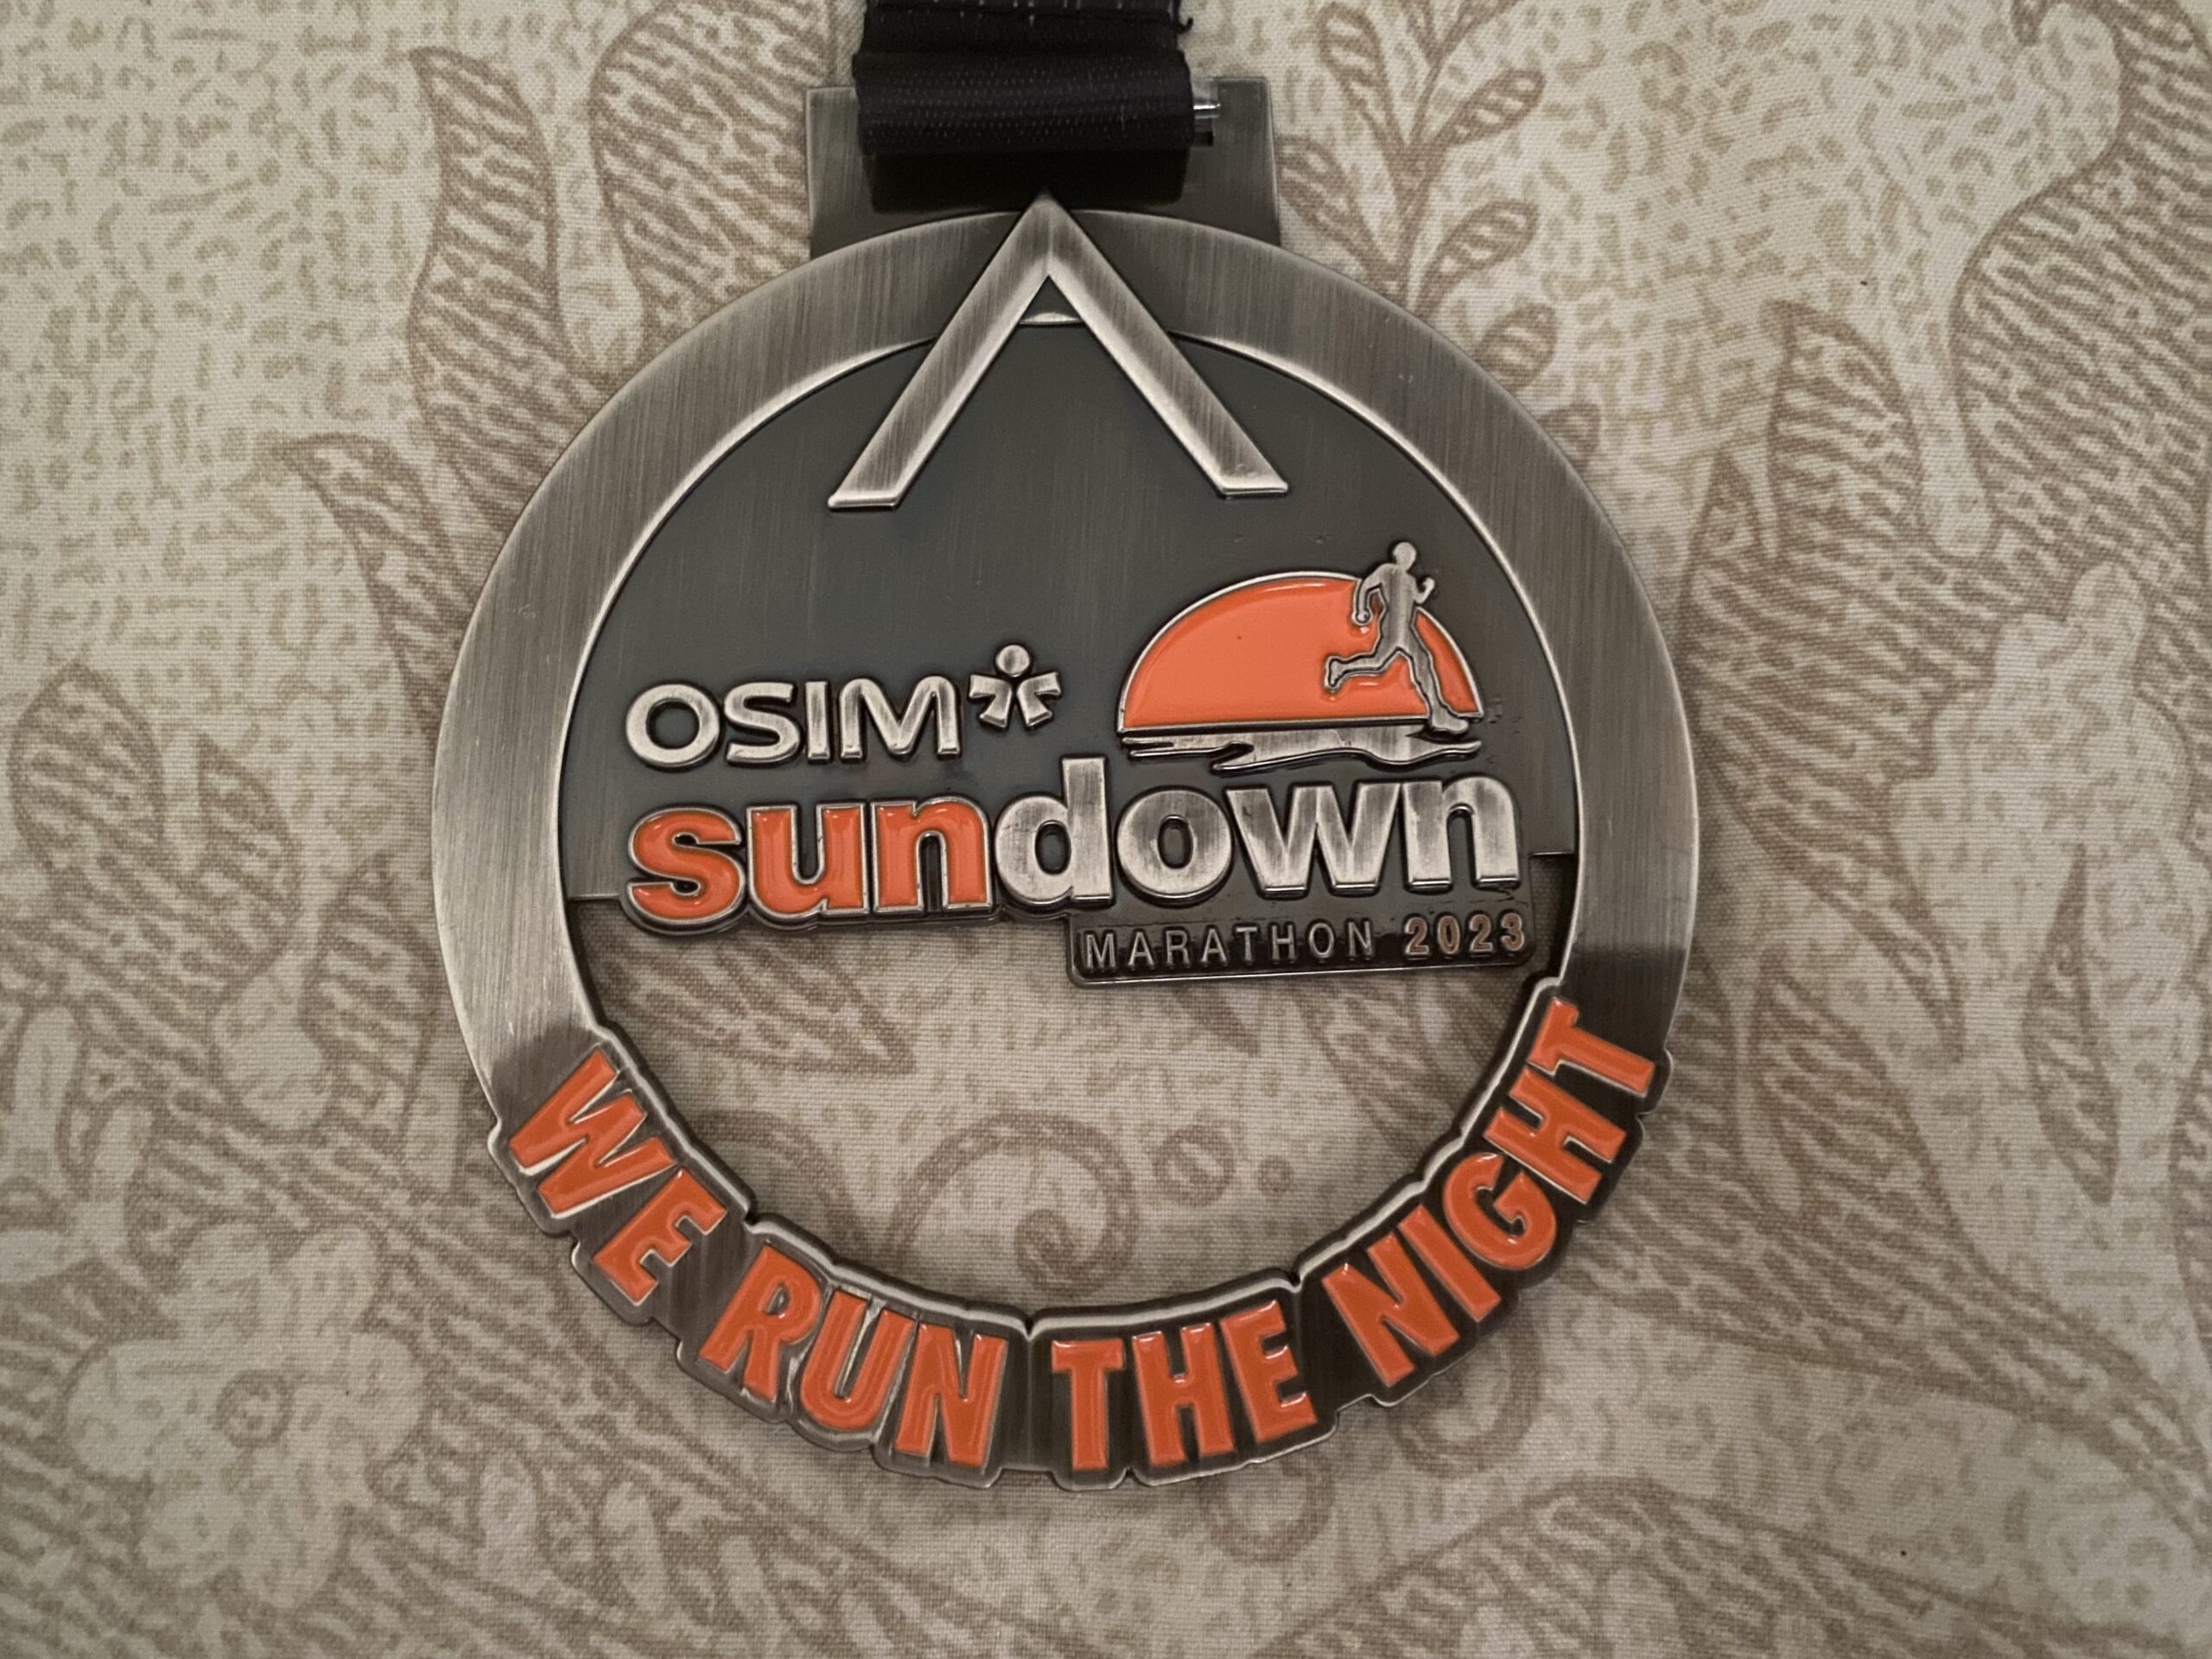
OSIM Sundown Marathon 2023 - Result Website
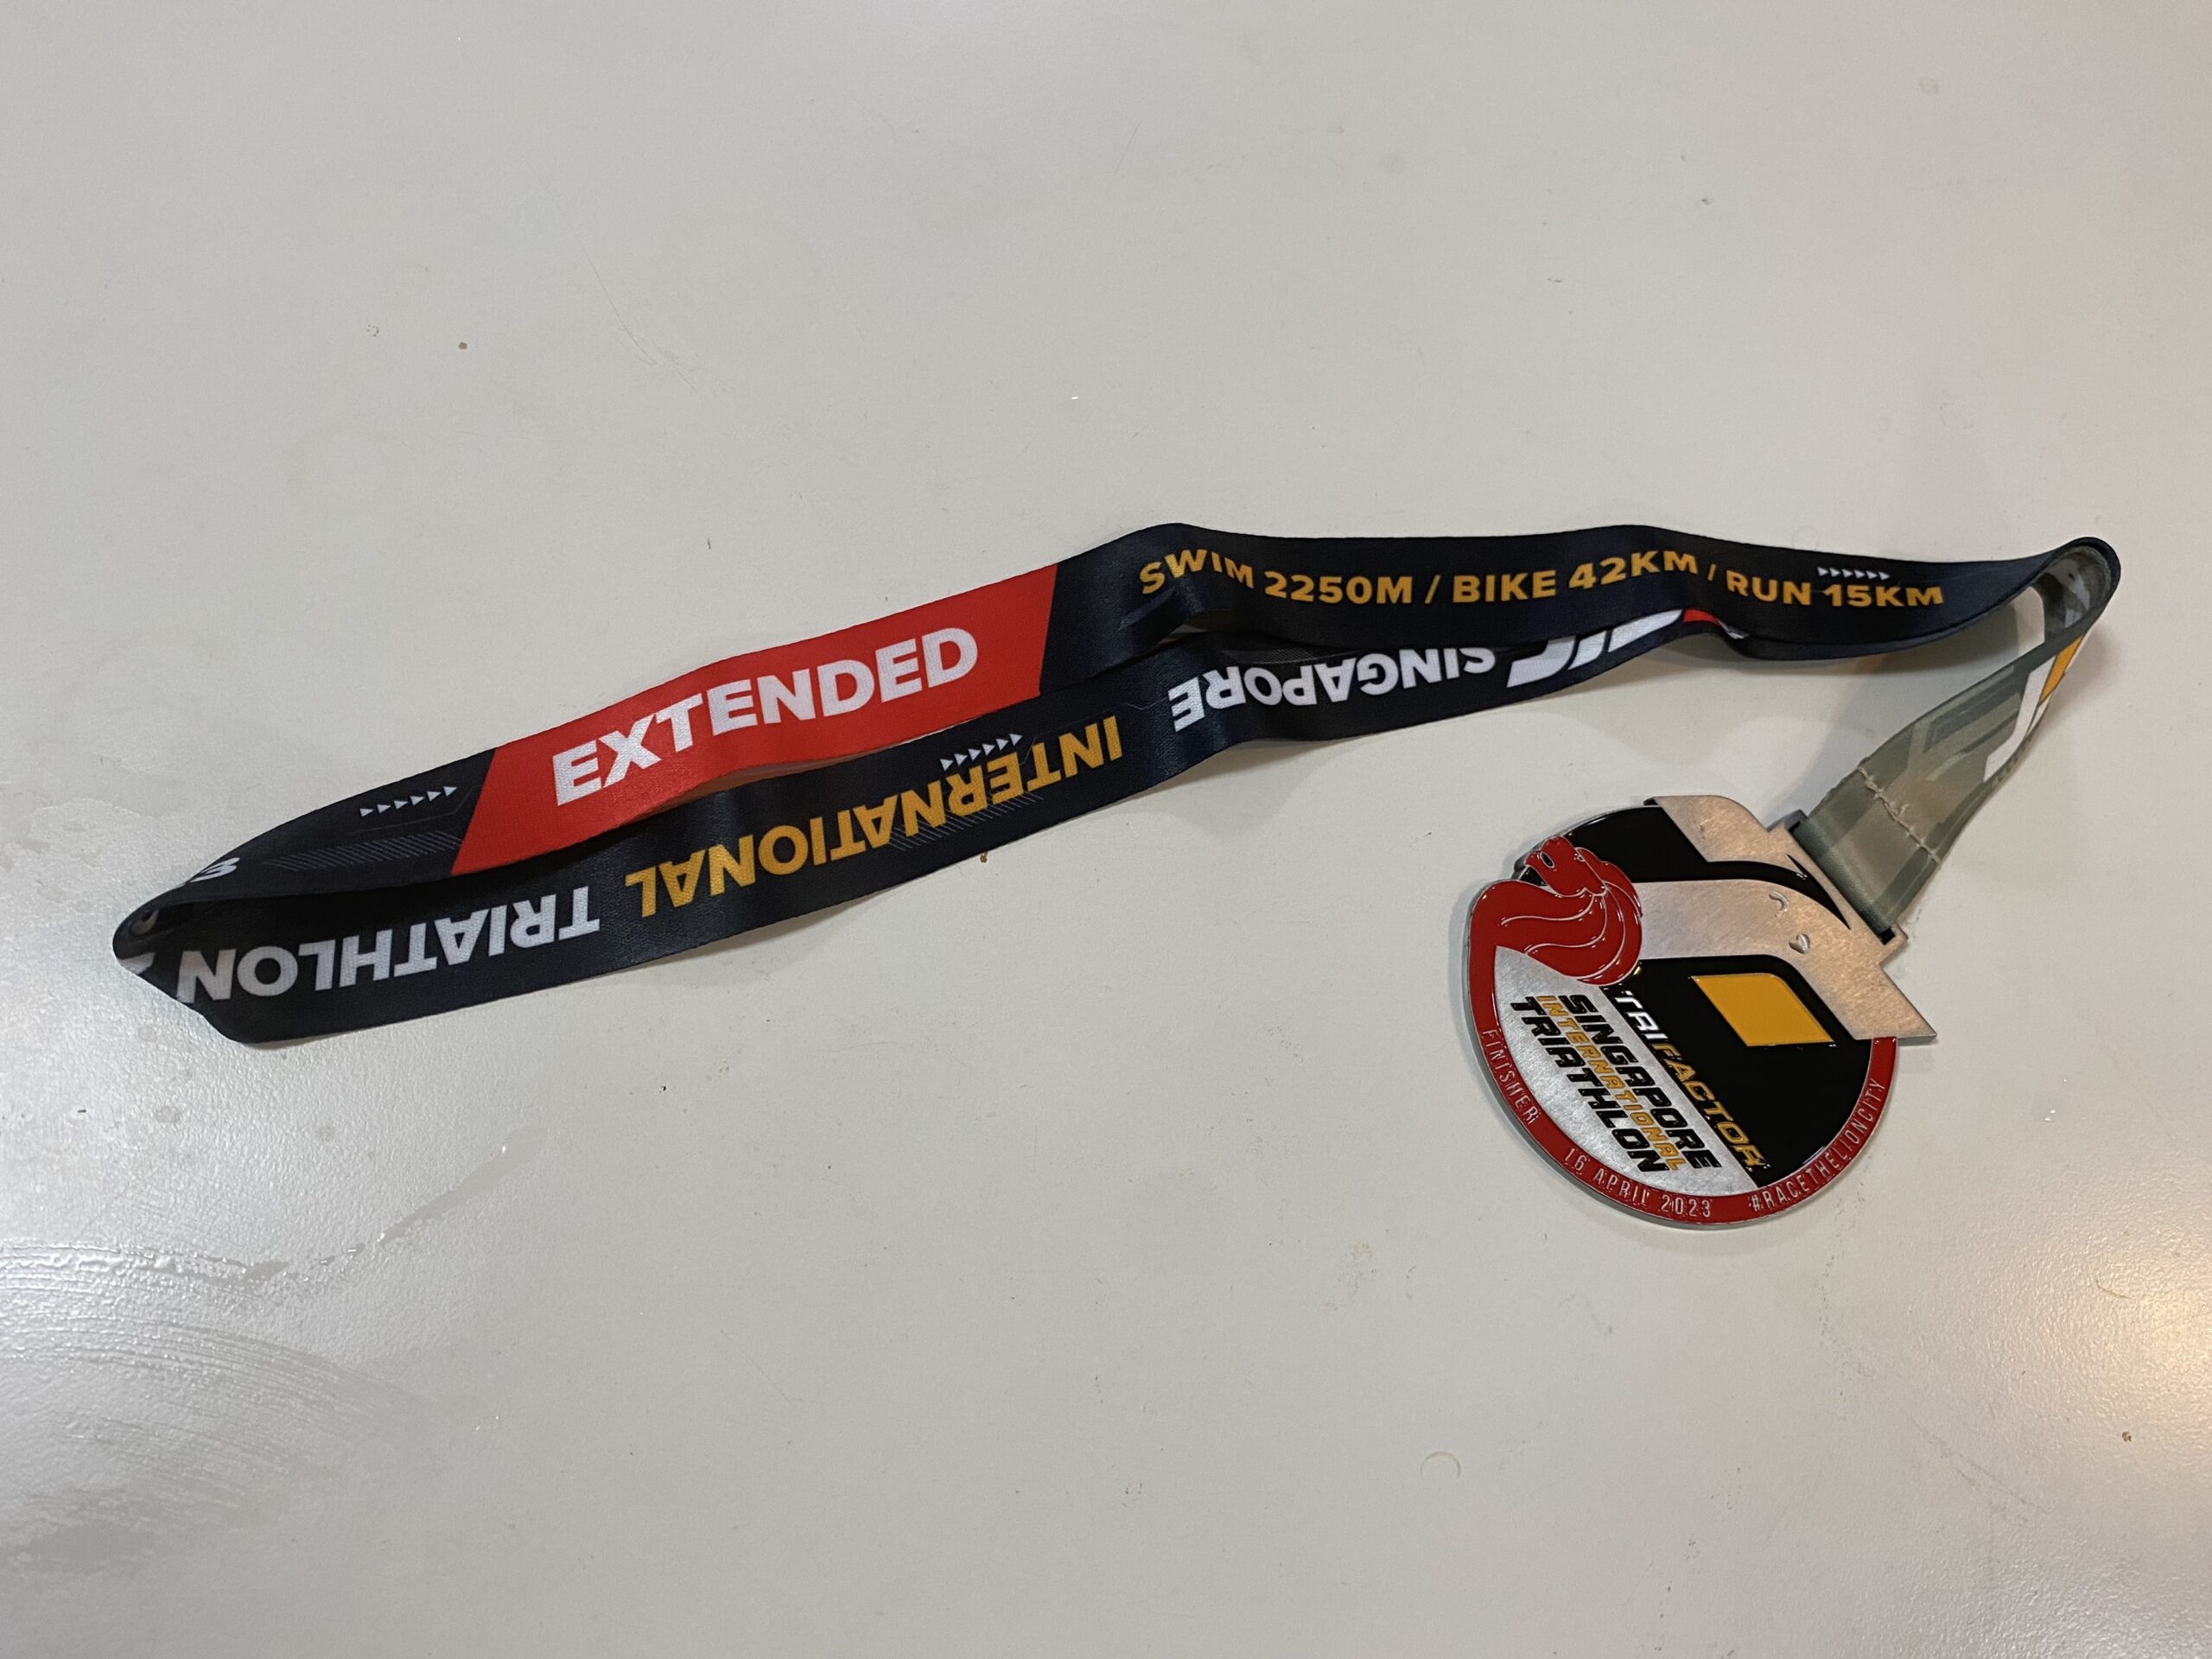
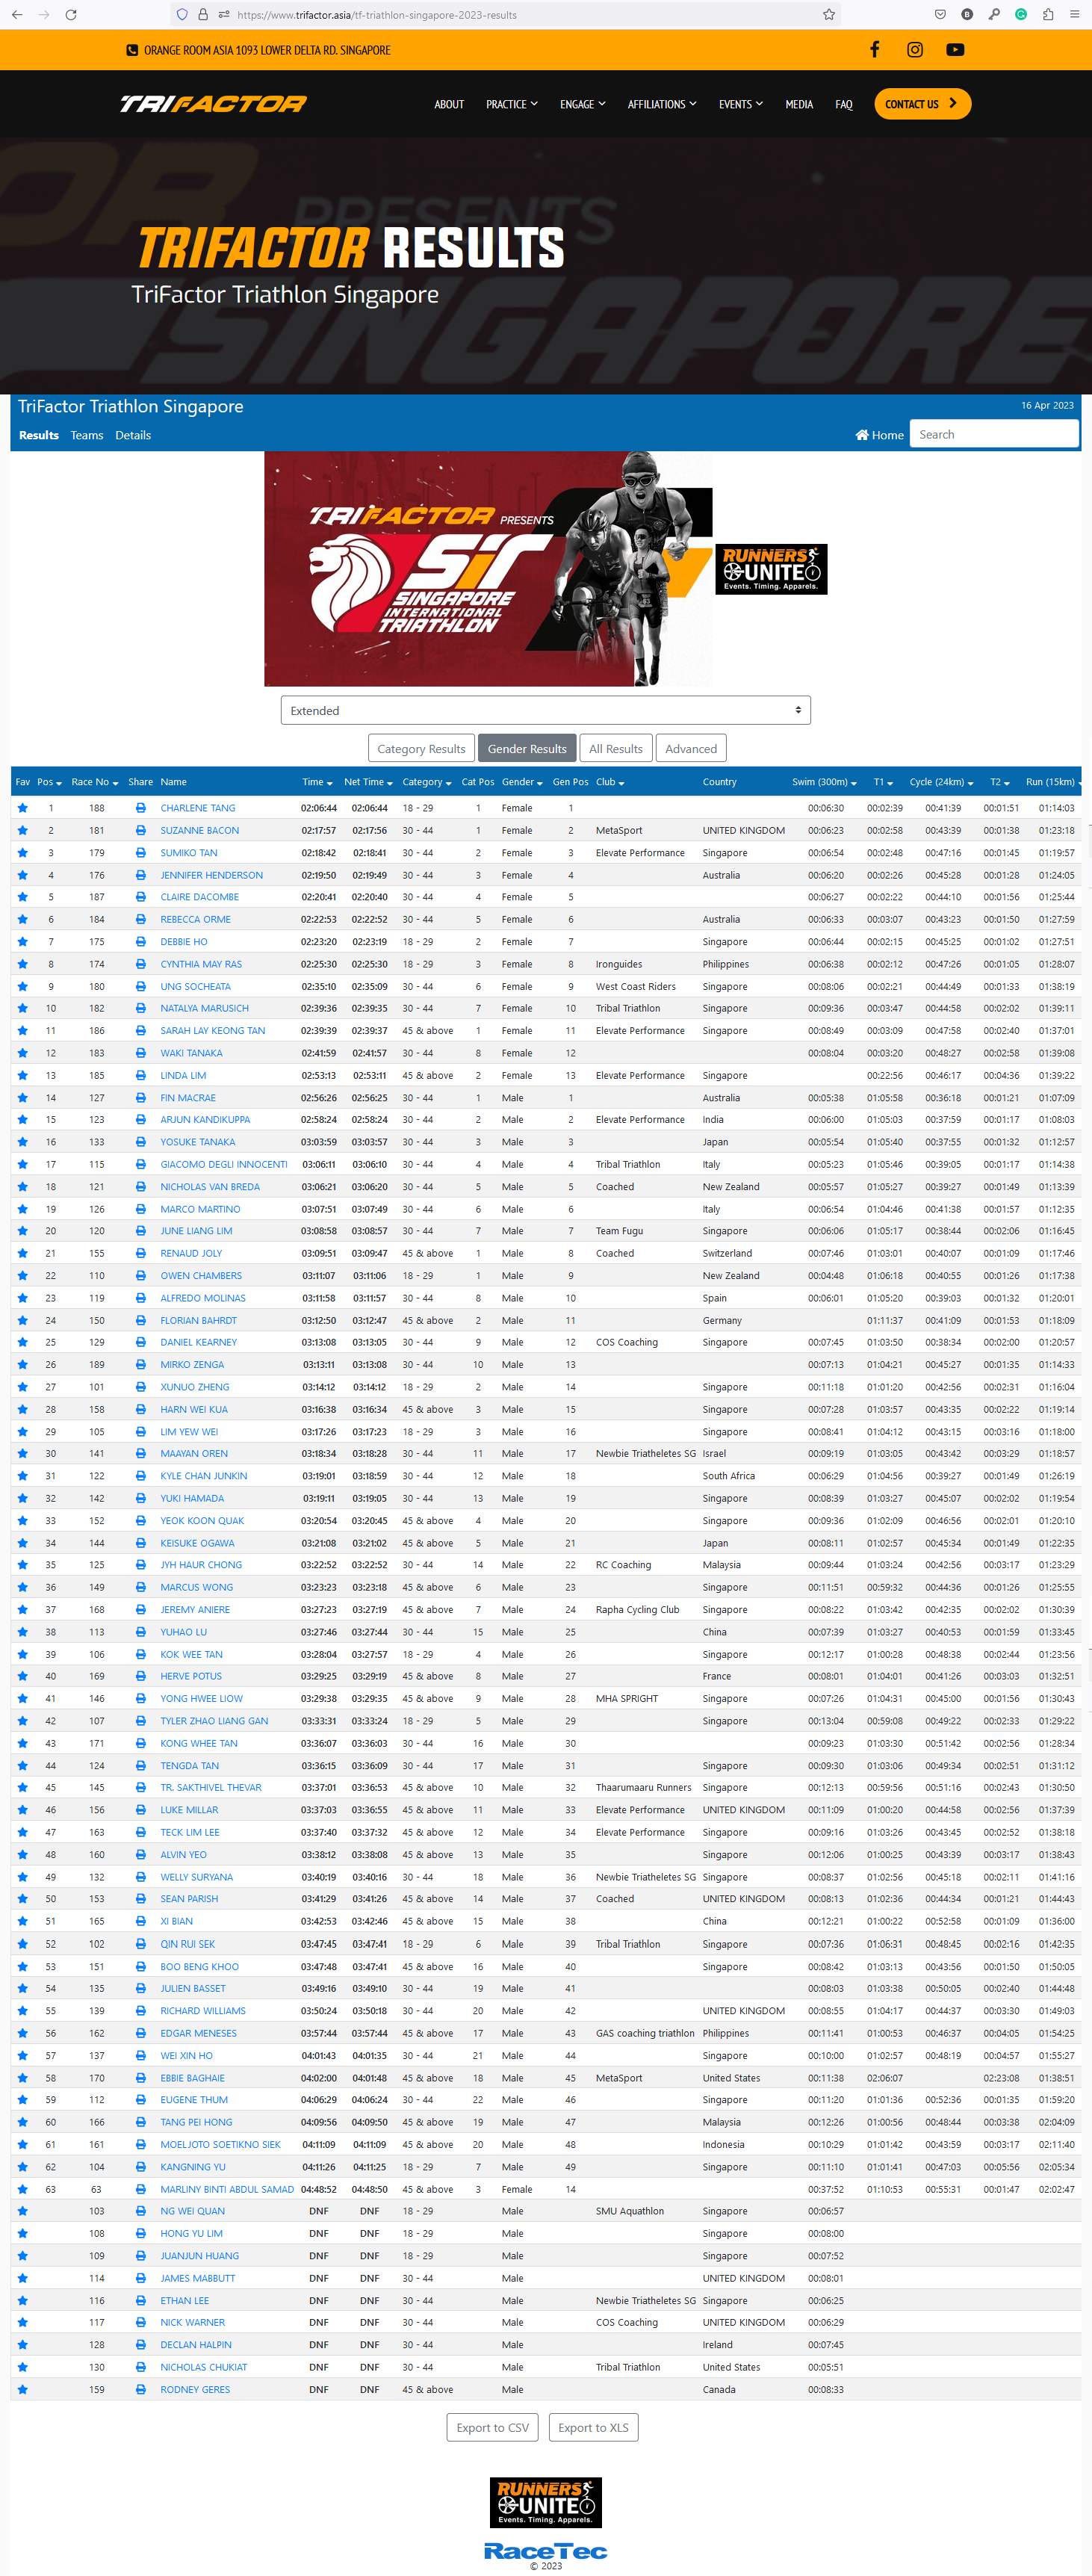
Event started on 16 April 2023. I got this just because of luck, the event reduced distances of both swimming and cycling. If not, I don't think I can complete in 4:30 hours.